Most of the older Hamilton, Burlington and Halton neighbourhoods sit on heavy clay. Plants that thrive in lighter soils die in clay unless you prep the bed correctly. Here is how to set up a garden bed that actually works in our soil.
Why clay is hard on plants
Heavy clay has three traits that fight against plants. It holds water (root rot in spring). It dries to concrete in summer (roots cannot grow into it). And it compacts under any foot traffic, eliminating the air pockets roots need. Most gardening advice assumes a friable loam soil; in clay you have to actively build that condition.
The bed preparation steps
Step 1: Pick the right time of year. Work the bed in spring (after the soil has dried enough to crumble in your hand, typically late April in our area) or in early fall (mid-September). Never work clay when it is wet or soggy; you destroy the soil structure and compact it into bricks. The crumble test: squeeze a handful. If it stays as a ball, it is too wet. If it crumbles back apart, you are good.
Step 2: Define the bed and remove the existing turf. Mark the bed outline with a hose or chalk line. Cut and remove the existing turf (a flat spade works) plus the top 5 cm of soil with it. Composted, this becomes useful soil amendment later. Without removal, the grass roots regrow into the bed.
Step 3: Loosen the clay subsoil. Dig the bed 30 to 40 cm deep with a spade. Break up the clay clods into roughly fist-size pieces. Do NOT compact as you go. Aim for a rough, broken surface, not a smooth excavation.
Step 4: Amend with coarse organic matter. This is the single most important step. Add 10 to 15 cm of coarse compost, aged leaf mould or partially-decomposed manure. Optionally add 2 to 3 cm of horticultural sand (NOT play sand) for further drainage. Fork the amendment into the loosened clay to a depth of 20 to 30 cm. The finished mix should be roughly 50% clay / 50% amendment in the top 30 cm.
Step 5: Build the bed slightly raised. A bed sitting 10 to 15 cm above the surrounding grade drains far better than one at grade. The amended soil should rise above the original level when you are done. Edge the bed with paver edging, steel edging or a low stone wall to hold the raised profile.
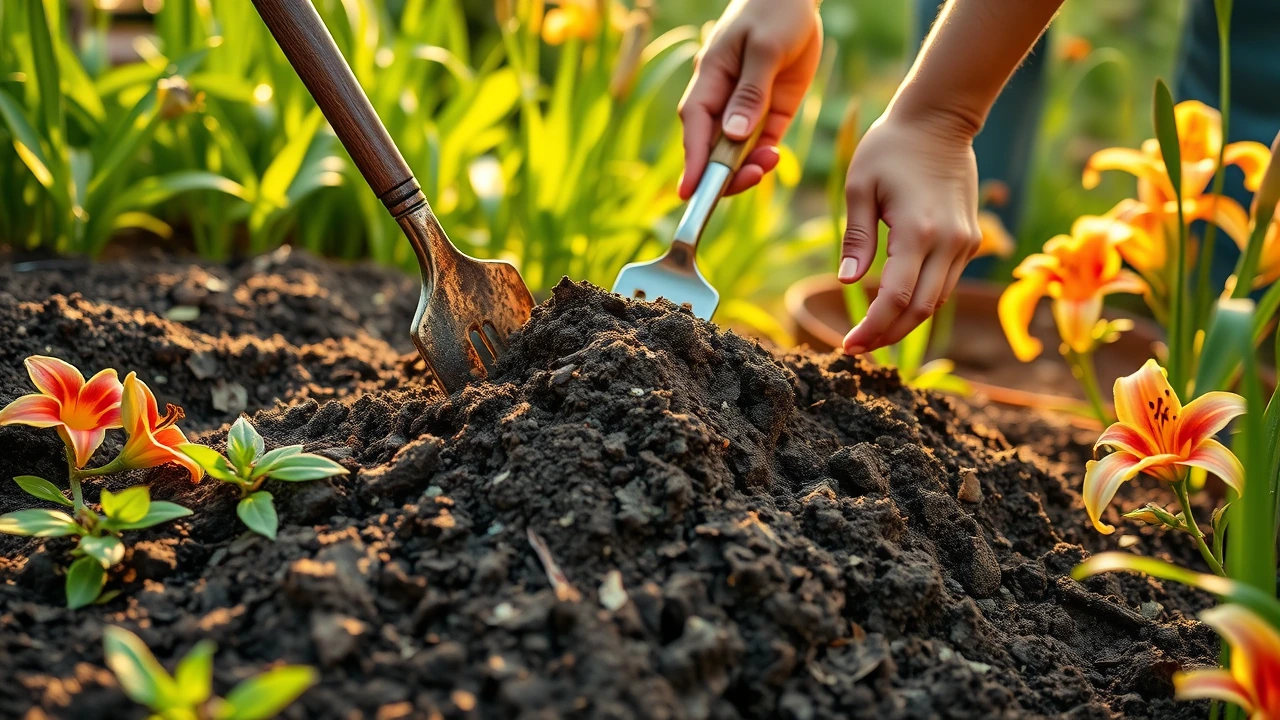
Step 6: Pick clay-tolerant plants. Plants that thrive in our heavy clay (when amended): hostas, daylilies, Siberian iris, ornamental grasses (especially Karl Foerster, Northern Sea Oats), most viburnums, weigela, ninebark, sumac, oaks, maples, lilac, river birch, sedum, asters, black-eyed Susan, coneflower. Skip blueberries, rhododendrons, azaleas, lavender, Mediterranean herbs, anything labeled ‘sharp drainage required’.
Step 7: Plant correctly and mulch. Dig the hole twice the width of the root ball but only as deep. Backfill with the amended bed soil, NOT pure compost (creates a ‘pot’ effect). Water in thoroughly. Top with 5 to 7 cm of bark mulch but pull it back 5 cm from the stem (mulch volcanoes kill plants).
Common mistakes that kill clay-soil plantings
- Skipping amendment. A young plant transplanted directly into unamended clay has roots that cannot expand and a soil moisture environment that swings between drowning and parching.
- Working clay when wet. Compacts it into bricks that no amount of subsequent amendment can fix easily.
- Planting too deep. Clay soil rises when wet and plants get suffocated.
- Building the bed below grade. Water collects in the bed and drowns the roots.
- Mulch volcanoes against stems. Holds moisture against the bark, encourages disease.
- Picking the wrong plants. Some plants will not thrive in clay no matter how much you amend. Pick from the clay-friendly list above.
Ongoing care
Top up the mulch annually in spring. Top up the amended soil every 2 to 3 years by spreading 2 to 3 cm of compost across the bed in fall (worms and freeze-thaw work it in). Avoid heavy foot traffic in the bed; soil compaction is the long-term enemy.
Frequently asked questions
How long does it take to fix clay soil?
The bed will be plantable immediately after the amendment step. The soil quality continues to improve for 3 to 5 years as the organic matter breaks down and earthworms colonise. By year 5 a well-prepped clay bed often outperforms a sandy bed because clay holds nutrients better.
Can I just buy ‘garden soil’ and dump it on top of clay?
Worse than helpful. The new soil sits as a layer on top of the impermeable clay; water collects between layers and roots drown. The amendment must be forked INTO the existing clay, not layered on top of it.
Are there plants that actually prefer clay?
Yes. Hostas, daylilies, Siberian iris, weigela, ninebark and many native species evolved in moist clay soils and thrive in them. Use these where amendment is limited.
What about raised beds with bagged soil?
A real raised bed (20+ cm above grade, filled with quality soil) sidesteps the clay entirely. It is more expensive to build but eliminates the clay problem. For vegetables and finicky perennials, often the right answer.
How do I know if my soil is actually clay?
Roll a moist handful into a cigar shape between your palms. If you can make a 10 cm long cigar that holds together, your soil is heavy clay. If it breaks at 3 to 5 cm, it is loam or silt-loam. If you cannot form a cigar at all, it is sandy.
If the soil prep feels like too much
- Garden building & planting service
- Grading & drainage service
- Landscaping in Hamilton (clay-heavy area)
- How to spot drainage problems
New plants already dying? See our diagnostic on why new plants and shrubs die after install.