A properly built interlocking patio in Ontario should last 25 to 30 years before needing significant intervention. Routine maintenance is light, but it matters. Here is how to do it across the seasons.
What you will need
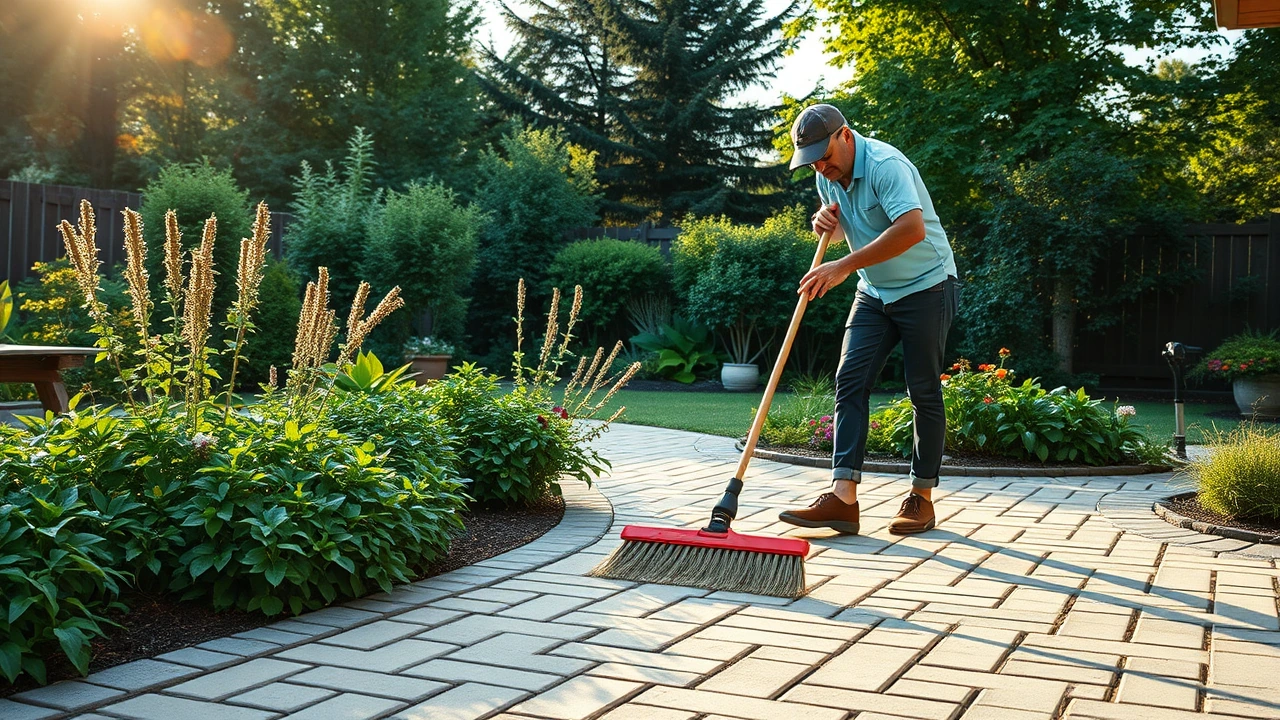
- Stiff bristle broom (not wire)
- Garden hose with mist or shower nozzle
- Pressure washer (optional, only when needed)
- Polymeric sand (every 5-7 years)
- Paver-safe cleaner (for specific stains)
The seasonal routine
Step 1: Spring inspection and clean. Once the snow has melted and the patio has dried, walk the surface and look for three things: low spots where water pools, gaps in the joint sand, and any individual pavers that have shifted. Sweep the patio thoroughly with a stiff bristle broom. Rinse with the garden hose to remove winter grit and salt residue. Most years, this is your full spring maintenance.
Step 2: Summer monitoring. Through the active season, sweep weekly during heavy use. If you spot weeds emerging from the joints, that usually means the polymeric sand is failing in those spots and will need re-sanding soon. Treat individual weeds by hand-pulling rather than herbicide; chemical weed killer can stain pavers.
Step 3: Fall deep clean (before snowfall). Once the leaves are mostly down and before the first hard freeze, give the patio a thorough clean. Sweep, then rinse with the hose. If algae or biological growth has built up in shaded areas, this is the right time to treat it with an oxygen-bleach or paver-specific cleaner. Apply per label, brush in with a stiff broom, dwell 5 to 10 minutes, then rinse thoroughly. Let the patio fully dry before winter.
Step 4: Winter care. Use sodium-chloride rock salt or sand for traction, NOT calcium chloride or magnesium chloride which are aggressive on concrete pavers. Avoid metal snow shovels with sharp edges; a plastic shovel or a snowblower with a rubber edge protects the surface. Do not pile snow on the patio surface for long stretches if you can avoid it; the freeze-thaw cycling in piled snow accelerates joint sand erosion.
Step 5: Polymeric sand re-sanding (every 5 to 7 years). This is the big one. Polymeric sand erodes over time. Re-sanding restores the joint lock and prevents weeds. Process: ensure the patio is completely dry. Sweep new polymeric sand across the surface, working it into the joints with a stiff broom until the joints are full to within 3 mm of the paver top. Sweep excess off the surface (very important; sand on the surface activates and discolours). Mist with water in light passes per the manufacturer instructions to activate the polymer. Let cure 24 hours before walking on, 72 hours before heavy use.
Step 6: Spot repair as needed. When you notice a paver that has sunk or shifted, do not wait. Use a paver-lifting tool (or two flat screwdrivers as pry points) to lift the affected pavers. Add bedding sand underneath to bring them back to level, tap them down with a rubber mallet, and re-sand the joints. Catching small sinks early prevents larger base failures. See our detailed guide on fixing a sinking patio.
Common mistakes that shorten patio life
- Power-washing too aggressively. A zero-degree tip at high PSI blasts joint sand out. Use a 25-degree fan tip at maximum 1500 PSI, held 30 cm from the surface.
- Using muriatic acid. Sometimes recommended for efflorescence but it eats the cement binder in concrete pavers. Stick to paver-specific cleaners.
- Calcium chloride de-icer. Aggressive on concrete. Use sodium chloride rock salt or sand instead.
- Ignoring early sinking. One sunken paver is a 30-minute fix. Letting it spread to ten pavers is a half-day rebuild.
- Skipping the re-sand. The joints are the patio. Once they fail, weeds, ants, and water erosion all accelerate.
Frequently asked questions
How often should I seal my interlocking patio?
Sealing is optional, not required. If you like the colour-deepened wet look, plan on every 3 to 5 years. If you do not seal, the patio performs identically; it just looks lighter and more matte. See our cleaning guide for more.
Will weeds always come back?
Properly polymeric-sanded joints resist weeds for 5 to 7 years. Once you start seeing weeds emerging from multiple joints, that is the signal to re-sand. Spot weeds in one or two joints can be hand-pulled without a full re-sand.
Can I pressure-wash every year?
You can but you do not need to, and aggressive pressure-washing every year accelerates joint sand erosion. A garden hose rinse is sufficient most years. Reserve the pressure washer for years when you have specific staining or biological growth.
What do I do if I see ants colonising my patio joints?
Ants in the joints usually means the polymeric sand has failed in those spots. The fix is the same as for weeds: re-sand the affected area or the whole patio. Ant baits or insecticides treat the symptom, not the cause.
How long does a polymeric sand re-sand take on a typical patio?
A 30 m² residential patio takes roughly 2 to 3 hours of work plus 24 hours of cure time before walking on it. Two bags of polymeric sand (~$60 in materials) cover most residential patios.
If maintenance gets ahead of you
- Paver sealing & restoration service
- How to clean an interlocking patio
- How to level a sinking paver patio
- How long does an interlocking patio last?
Related reading
Stain or moss buildup? Our companion guide on cleaning interlock pavers covers pressure-washer settings, safe cleaners and joint protection.