Sealing pavers is one of those topics where bad advice circulates widely. Sealer is not required for performance, but if you want the deeper colour and easier cleanup, here is how to do it right.
What you will need
- Paver-specific penetrating sealer (NOT topical/film-forming for general use)
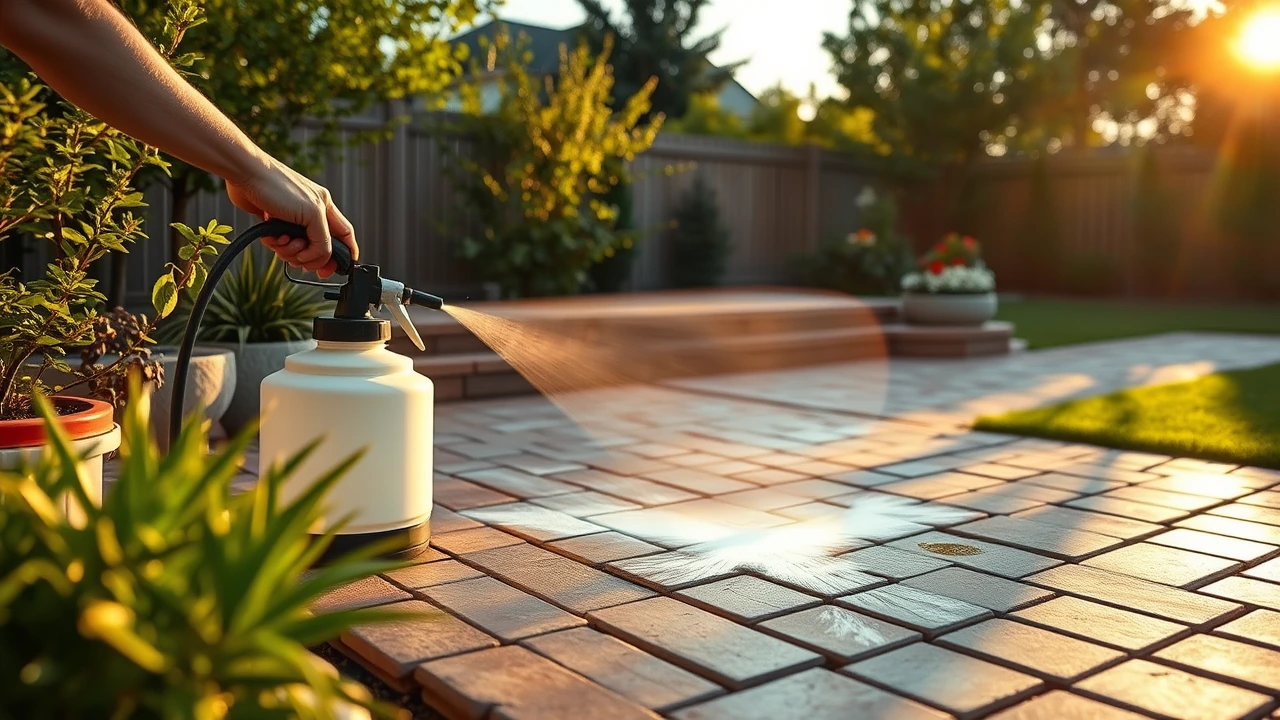
- Paint roller with paver-rated cover, OR a low-pressure pump sprayer
- Cut-in brush for edges
- Hose and pressure washer for prep (cleaning)
- Polymeric sand (if joints need topping up before sealing)
- Plastic sheeting (for protecting adjacent garden beds and walls)
- Personal protective equipment: gloves, safety glasses, sturdy footwear
When to seal (and when not to)
Seal when: you want the wet-look colour deepening, the patio is at least 60 days old (so efflorescence has worked itself out), the forecast is dry for 48 hours, and the patio is genuinely clean and dry.
Do NOT seal when: the patio is brand new (under 60 days), there is visible efflorescence (white residue from initial curing), it has rained within 24 hours, or there is any dampness in the joints or under-paver bedding.
The steps
Step 1: Choose the right sealer. For most residential patios, a penetrating sealer (sometimes called a sub-surface sealer) is the right choice. It soaks into the paver and protects from inside without creating a glossy film. Film-forming sealers create a topical coating that looks shinier but can become slippery when wet, scratch easily, and have to be stripped and re-applied every 2-3 years. Specialty water-repellent versions are good for high-stain-risk areas like outdoor kitchens.
Step 2: Clean the patio thoroughly. The sealer goes on top of whatever is there, including dirt, stains and biological growth. Spend the time on prep. Sweep, then pressure-wash with a 25-degree fan tip at 1500 PSI maximum. Treat any specific stains with a paver-safe cleaner. Rinse thoroughly. Then let the patio dry COMPLETELY for at least 48 hours of dry weather before sealing. Any moisture trapped under the sealer will cause cloudiness or peeling.
Step 3: Re-sand the joints if needed. Sealer locks in whatever the joints look like. If they are low, add polymeric sand to top them up and activate (mist with water) before sealing. Let the polymeric sand cure 48 hours before applying sealer.
Step 4: Protect adjacent surfaces. Mask off garden beds, walls, fences, anything within 30 cm of the patio edge with plastic sheeting. Sealer overspray on adjacent surfaces is hard to remove and can damage planting.
Step 5: Apply the sealer. Two coats is standard. Apply the first coat using a roller or low-pressure pump sprayer at the rate the manufacturer specifies (typically one gallon per 200-250 square feet, or about one gallon per 20-25 square metres). Work in 2 m² sections, keeping a wet edge to avoid lap marks. Brush the edges by hand. Let the first coat absorb fully (typically 1 to 2 hours, follow the manufacturer instructions). Apply the second coat in the same pattern.
Step 6: Let it cure properly. Stay off the patio for 24 hours minimum after the second coat. Avoid heavy furniture or vehicle traffic for 72 hours. Light foot traffic is usually OK after 24 hours. Watch the forecast; if rain hits within the first 24 hours, the sealer may streak or wash out and need touch-up.
Step 7: Maintain the seal. Once sealed, your maintenance routine stays similar. Sweep, rinse, address stains promptly. Plan to re-seal every 3 to 5 years depending on traffic and exposure. When colour starts looking flat compared to recently-sealed patios in your area, it is time.
Common mistakes (in order of how often we see them)
- Sealing too soon after install. Efflorescence still working out of the pavers gets trapped under the seal, creating permanent cloudiness. Wait at least 60 days.
- Sealing on a damp patio. Moisture trapped under the seal causes white blooms or peeling. Verify dryness with a moisture meter if you have one, or just wait 48 hours of dry weather.
- Applying too much sealer in one coat. Puddles on the surface dry into shiny patches. Apply at the rate specified, no more.
- Using a film-forming sealer outdoors in Ontario. Looks great in year one, peels by year three. Penetrating sealers age better in our freeze-thaw.
- Skipping the second coat. One coat looks barely different from unsealed. Two coats is where the wet-look colour pop comes from.
Frequently asked questions
Do I have to seal my interlocking patio?
No. Sealing is optional. Unsealed pavers perform identically. The only reason to seal is aesthetic (the colour-deepened wet look) and to make stain cleanup slightly easier. Many of our customers never seal and have patios that look great after 15 years.
How much does it cost to seal a patio professionally?
Roughly $2 to $4 per square foot ($20 to $40 per m²) for a professional sealing job, including the pre-clean and re-sanding. A 30 m² patio runs roughly $600 to $1,200 done by a pro. DIY material cost is $200-300 in sealer plus your time.
Will sealing fix a patio that has gone dull and faded?
It often restores the look significantly. Faded pavers regain much of their original colour depth once sealed. If the pavers are damaged (chipped, surface-spalled), sealing will not fix structural issues.
Can I walk on the patio between coats?
Wait until the first coat has fully absorbed (typically 1-2 hours, manufacturer-dependent). Light foot traffic at that point is usually OK but heavy traffic should wait until both coats are done and cured.
What if I get sealer on plants by accident?
Rinse immediately with the garden hose. Most modern paver sealers are water-based and rinse off easily before they cure. Once cured, removal is much harder. This is why we mask off planting beds before starting.
If sealing feels like too much
Sealing is one of those things that is straightforward when you have the time and the right conditions, but a real pain to redo if you skip a step. We do paver sealing as a service across the Hamilton, Halton and Niagara regions if you would rather have it done.
- Paver sealing & restoration service
- How to maintain an interlocking patio
- How to clean an interlocking patio
White haze before you seal? Read our diagnostic walk-through: match symptoms to root causes with DIY-fix steps and realistic pro-repair cost ranges.
Already have efflorescence or grime? Read our step-by-step guide on cleaning an interlocking patio before you seal.